Form basic operations
After creating the form, there will be the following basic operations:
-
Redesign the form
-
Design the form name and icon
-
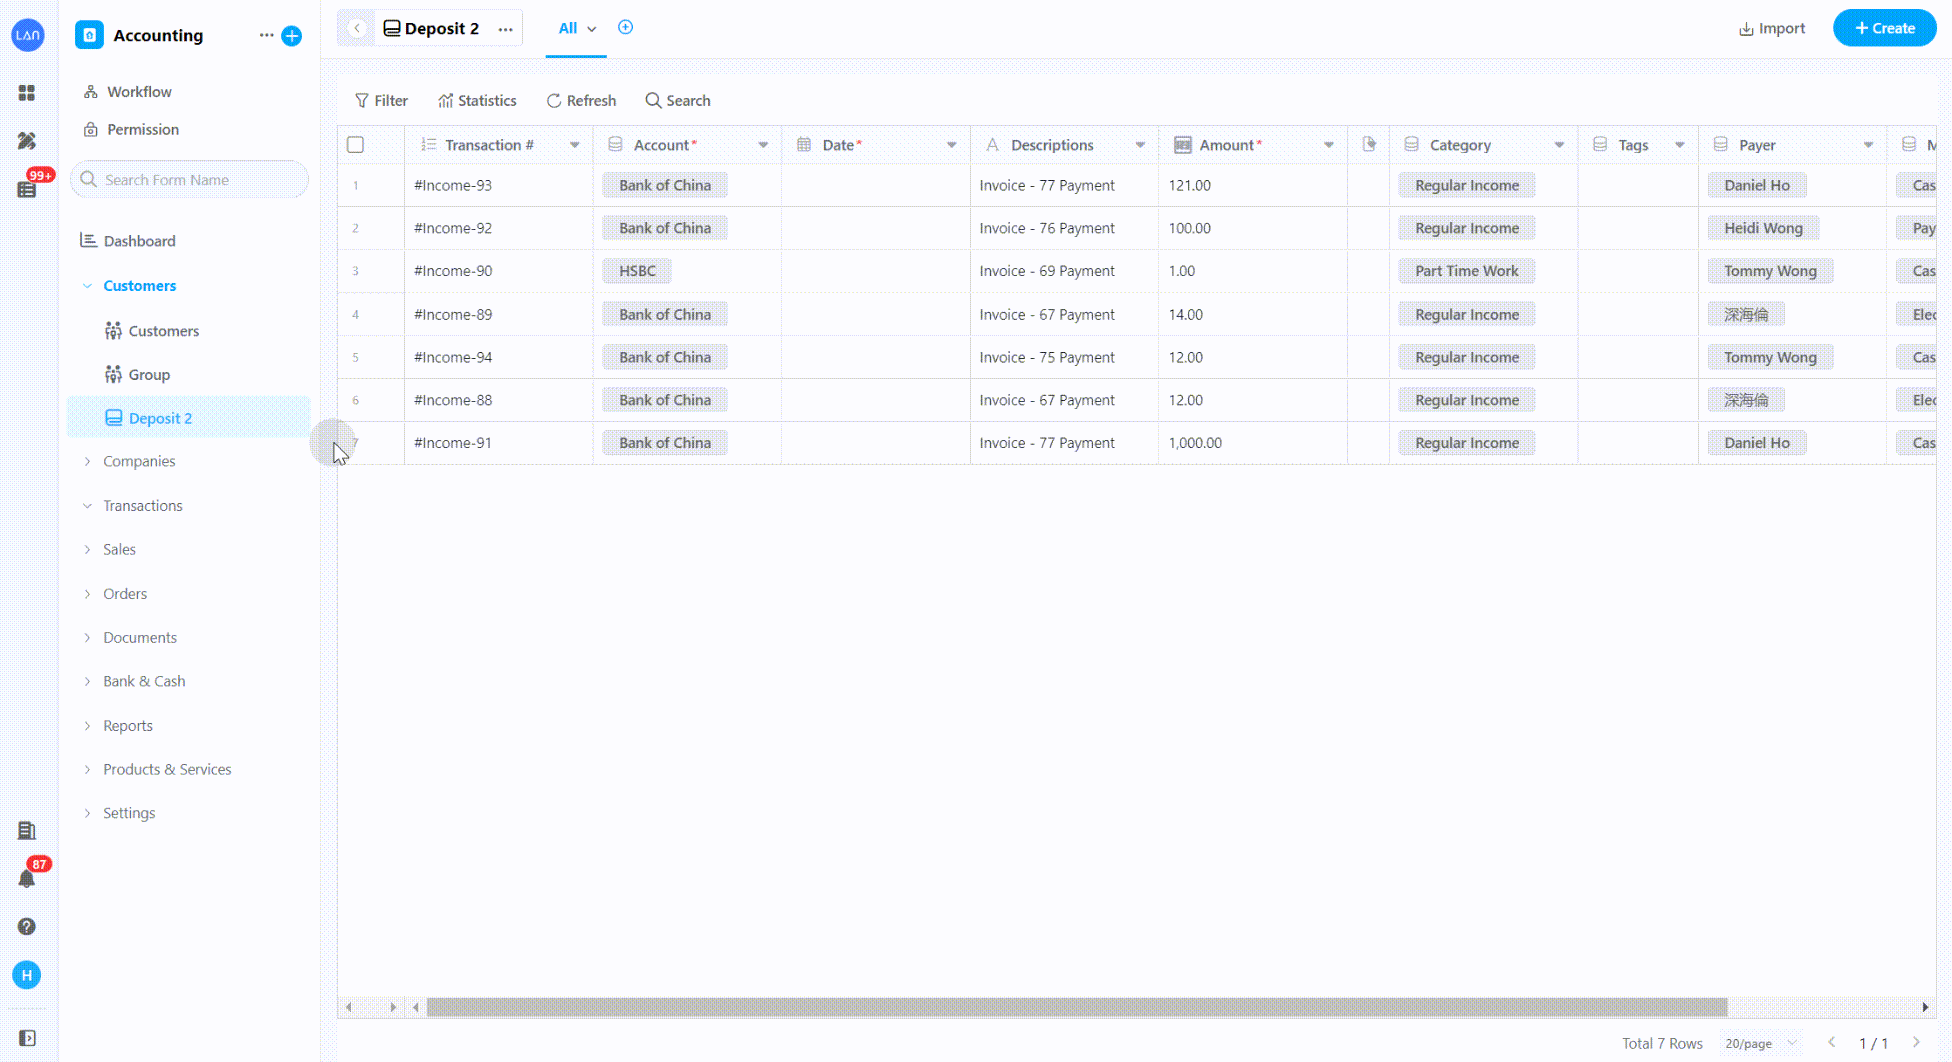
Sort the form
-
Copy the form
-
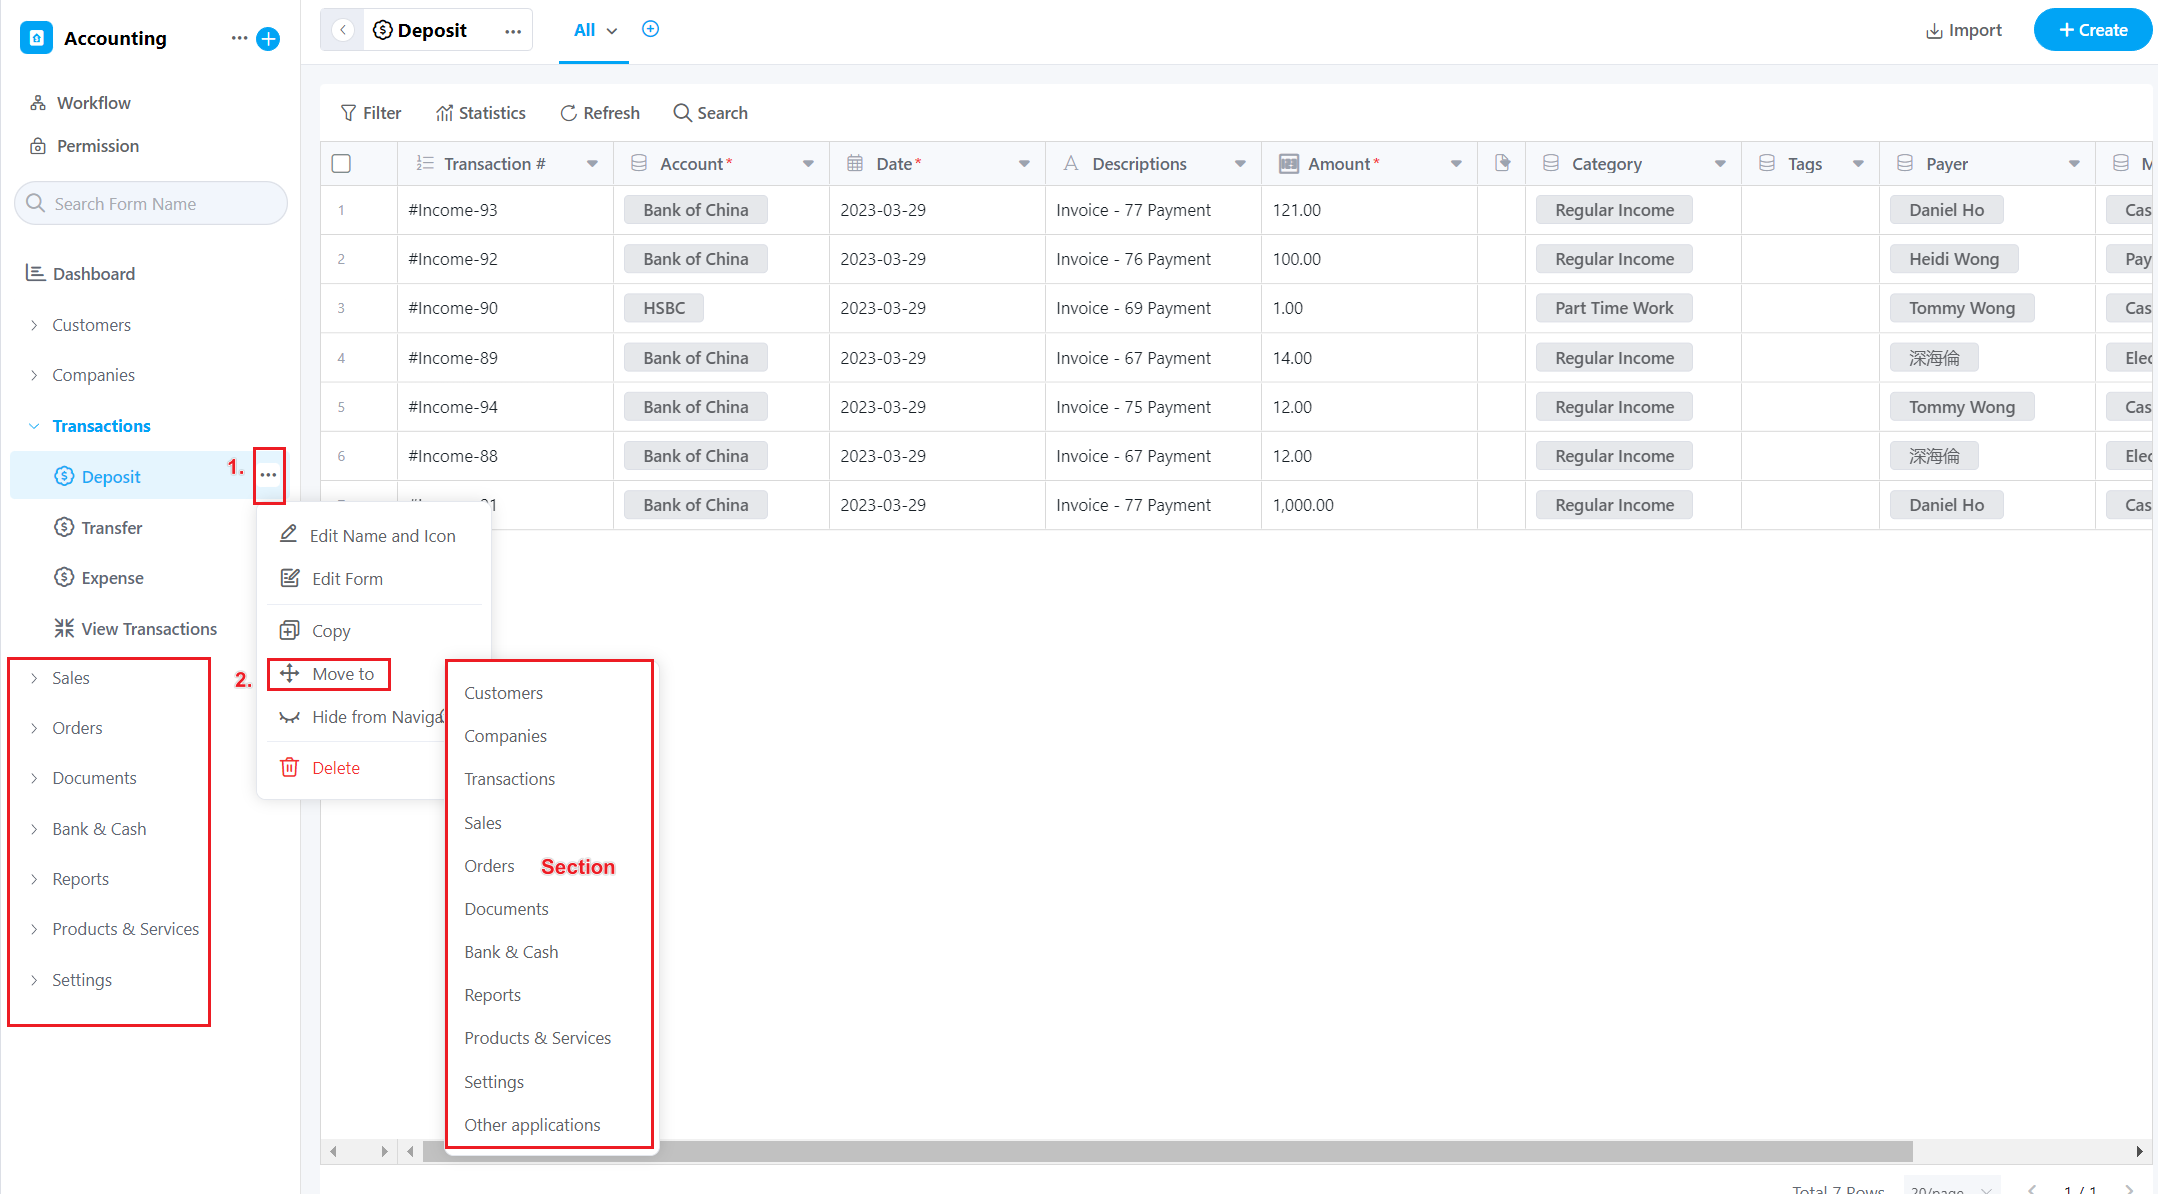
Move the form
-
Delete/restore the form
-
Manage the form by groups
-
Hide the form (from the left navigation bar)
-
Hide and expand the left navigation bar of the form
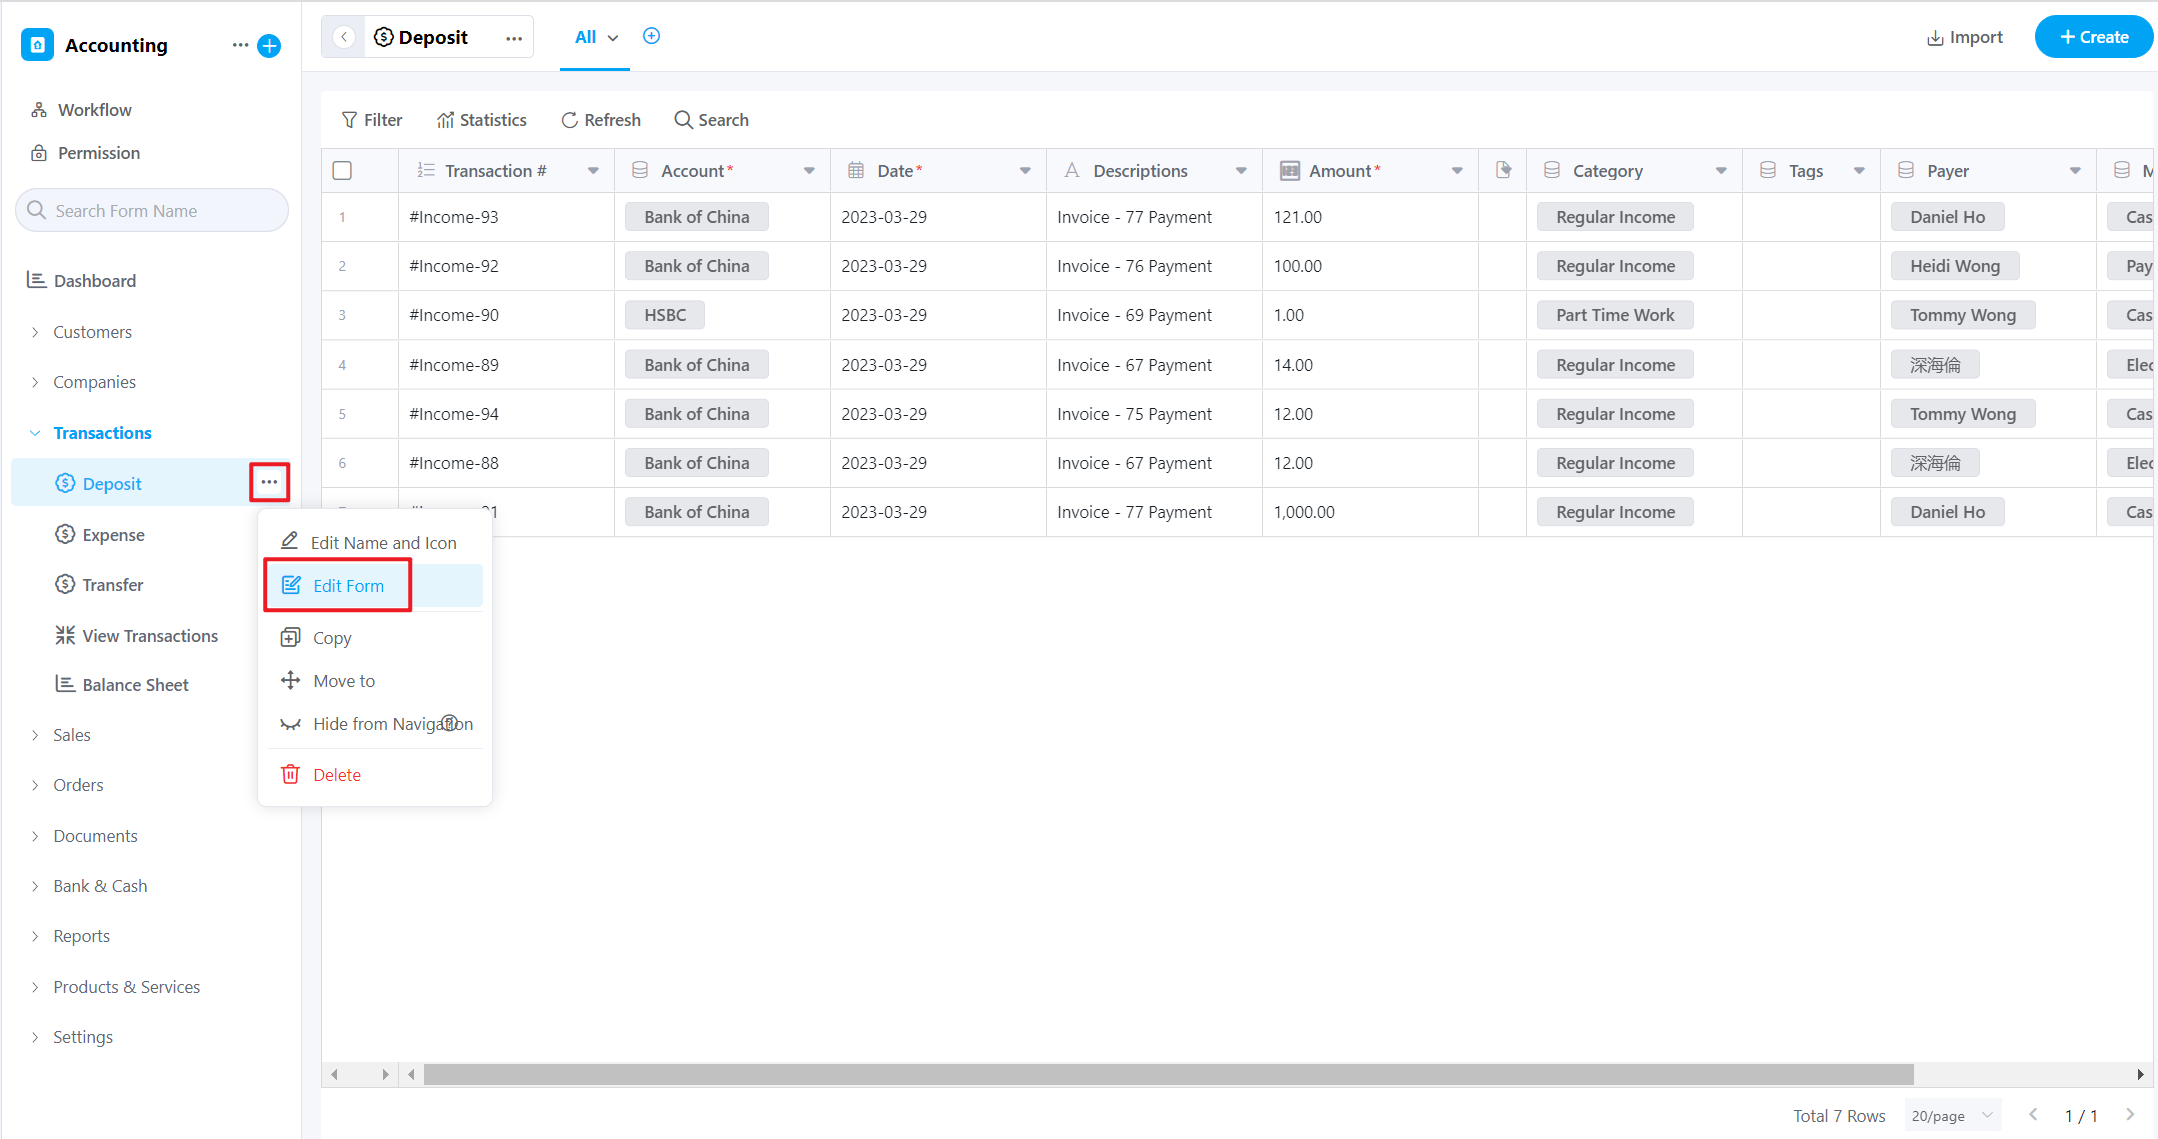
1. Redesign the form
Click the […] icon and select the [Edit Form] button to enter the design page. For how to design a form, please refer to Creating a Form.
Entrance 1: the name of the form directly above
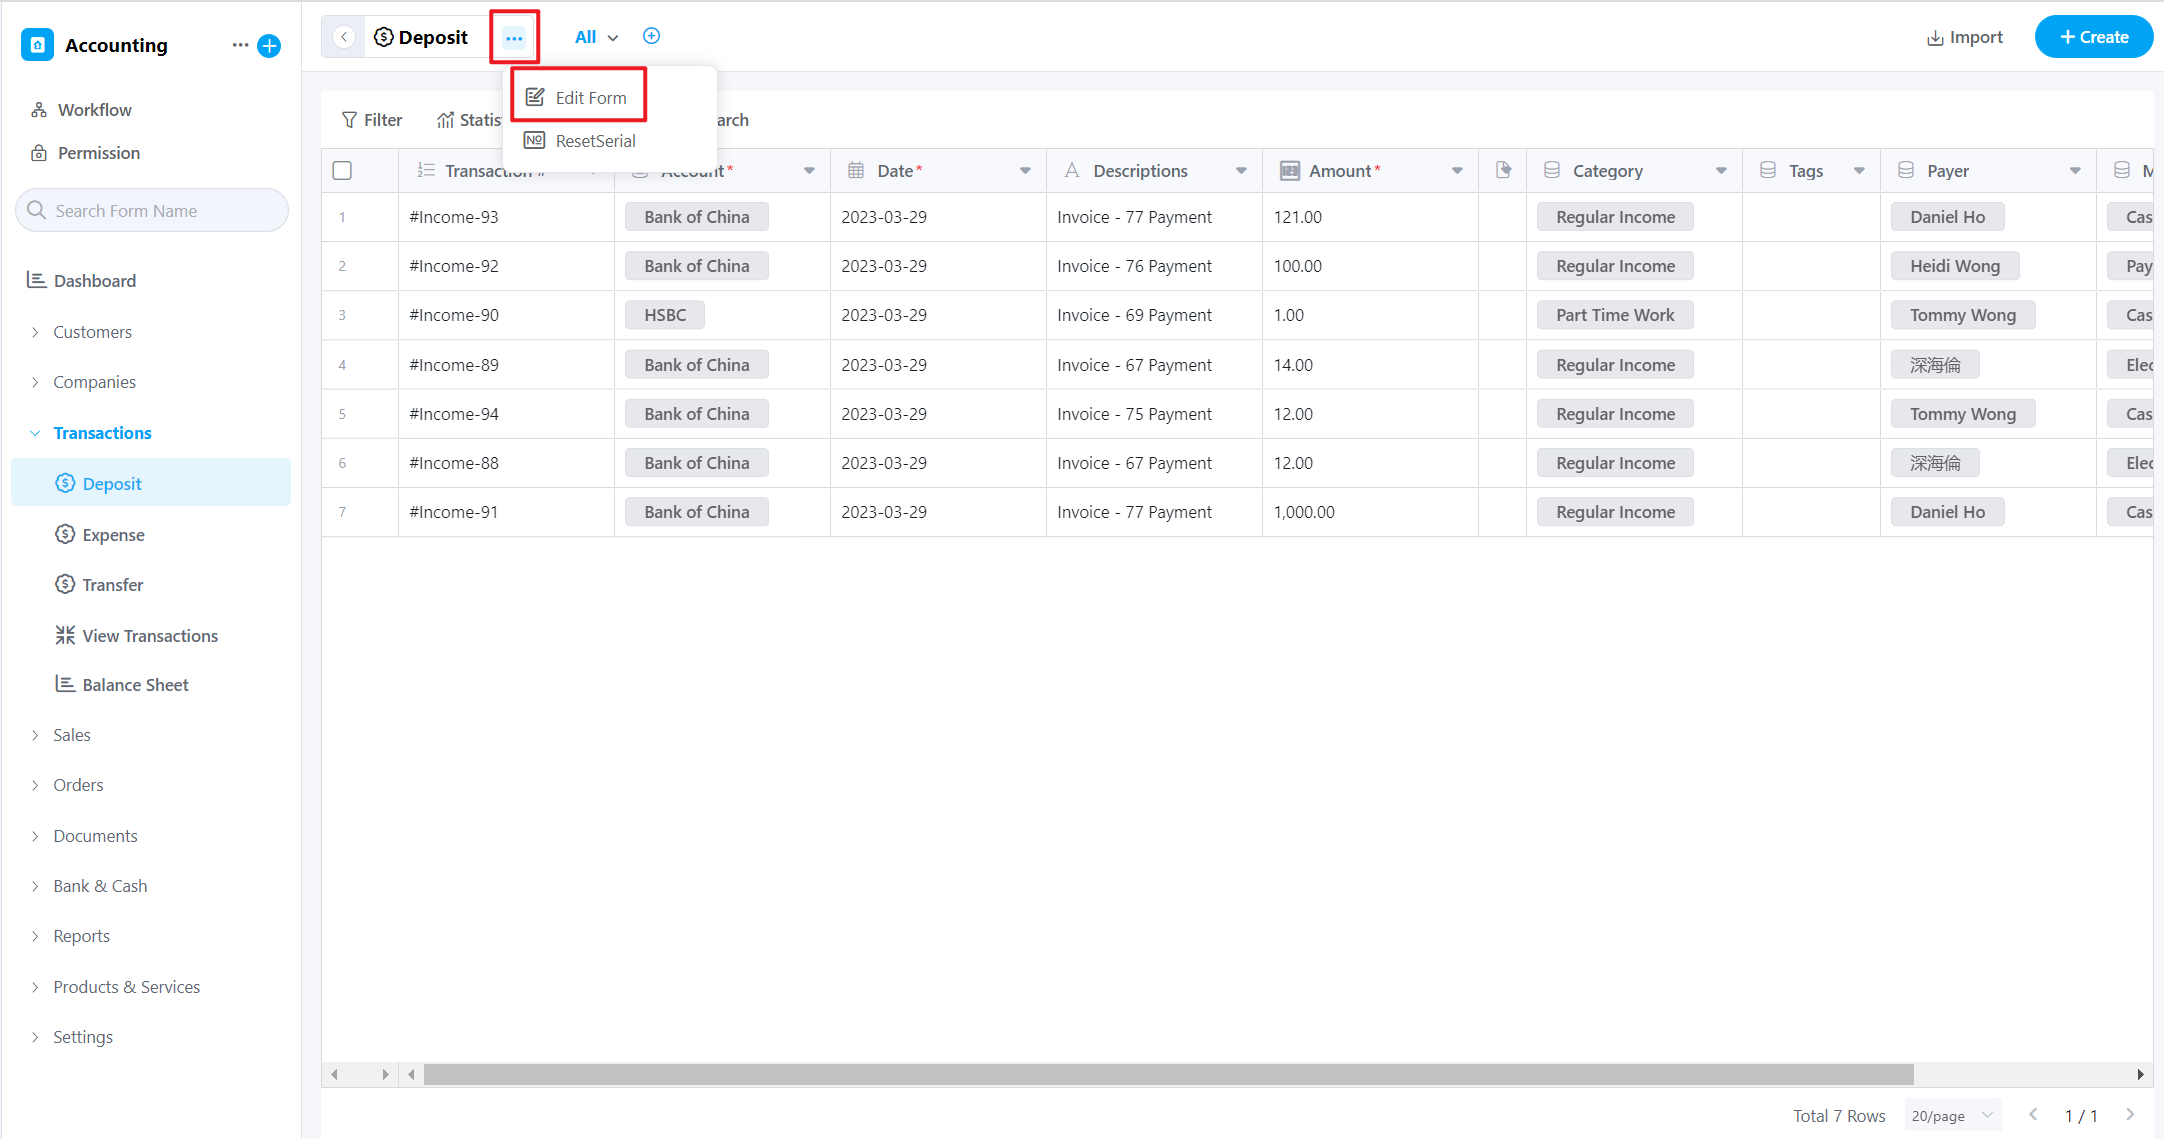
Entrance 2: left navigation bar
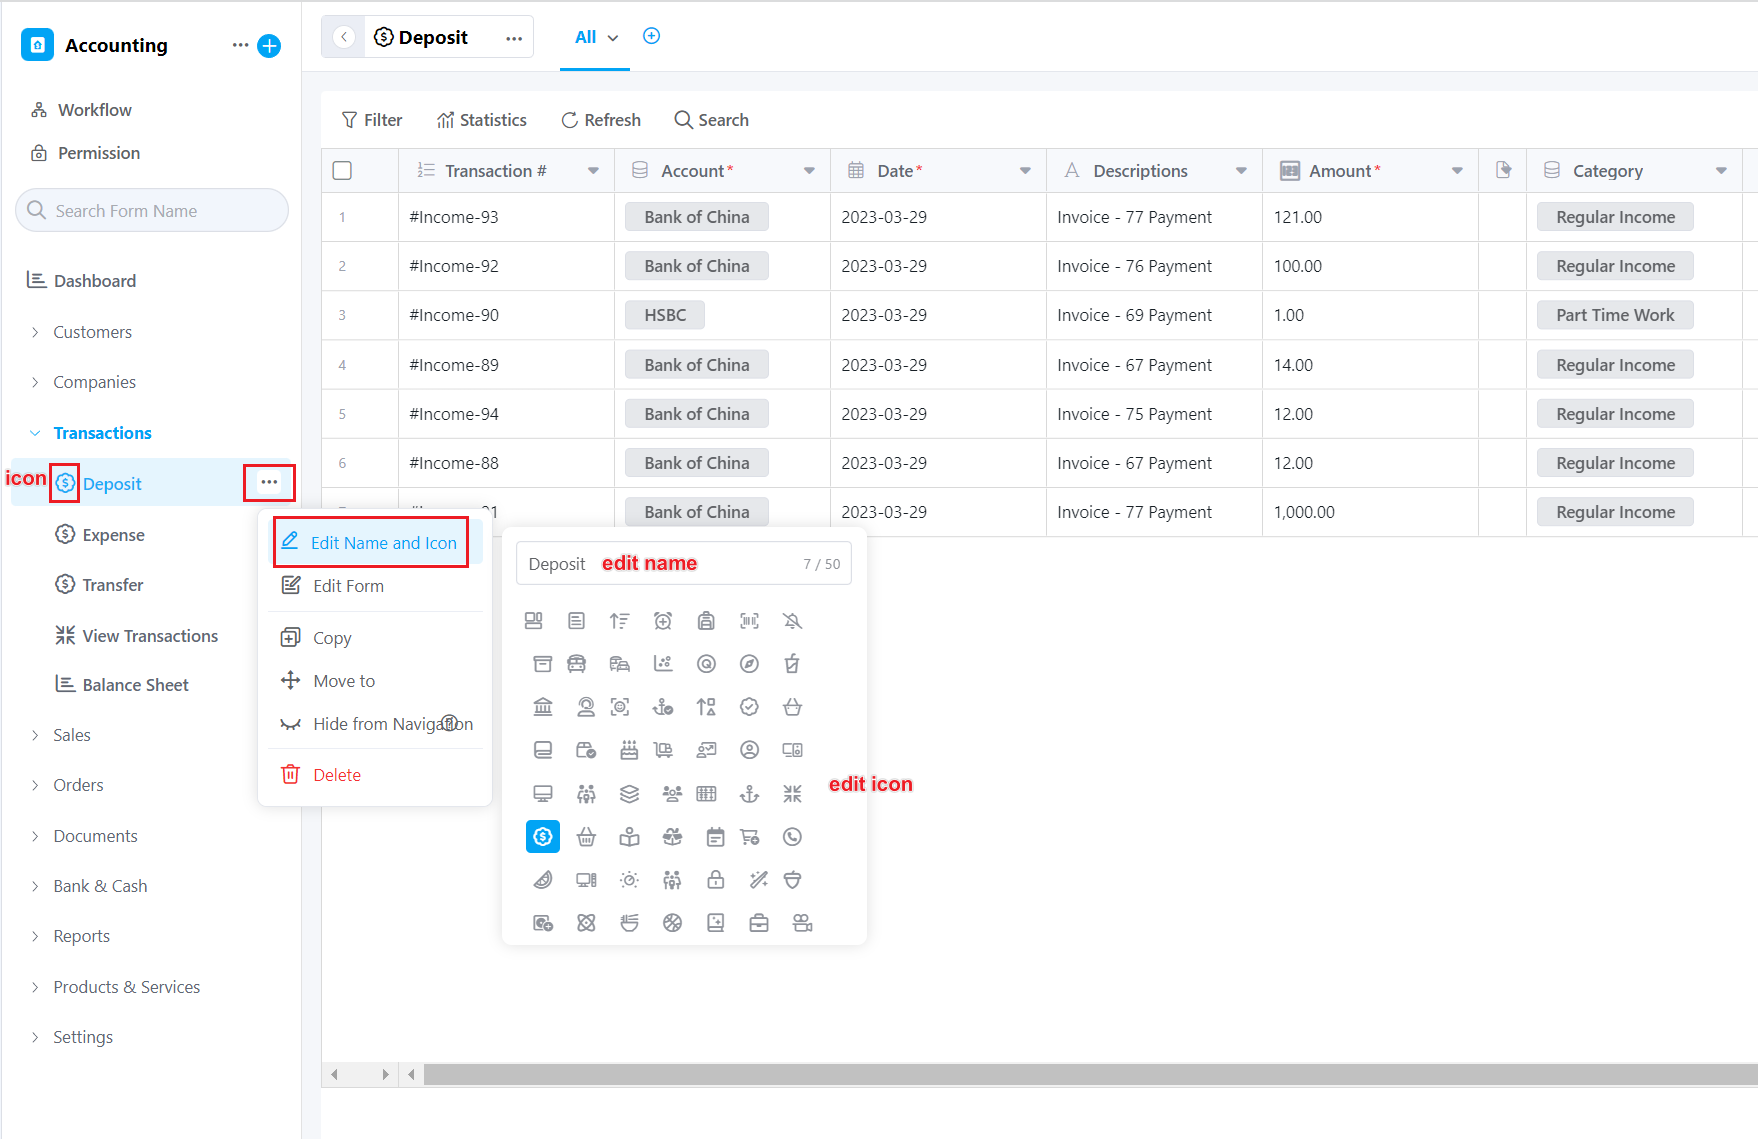
2. Design the form name and icon
Click the […] icon and select the [Edit Name and Icon] button to modify the name and icon:
3. Sort the form
Click and hold the mouse on the form, drag it to the desired position and release the mouse to sort. The operation is as follows:

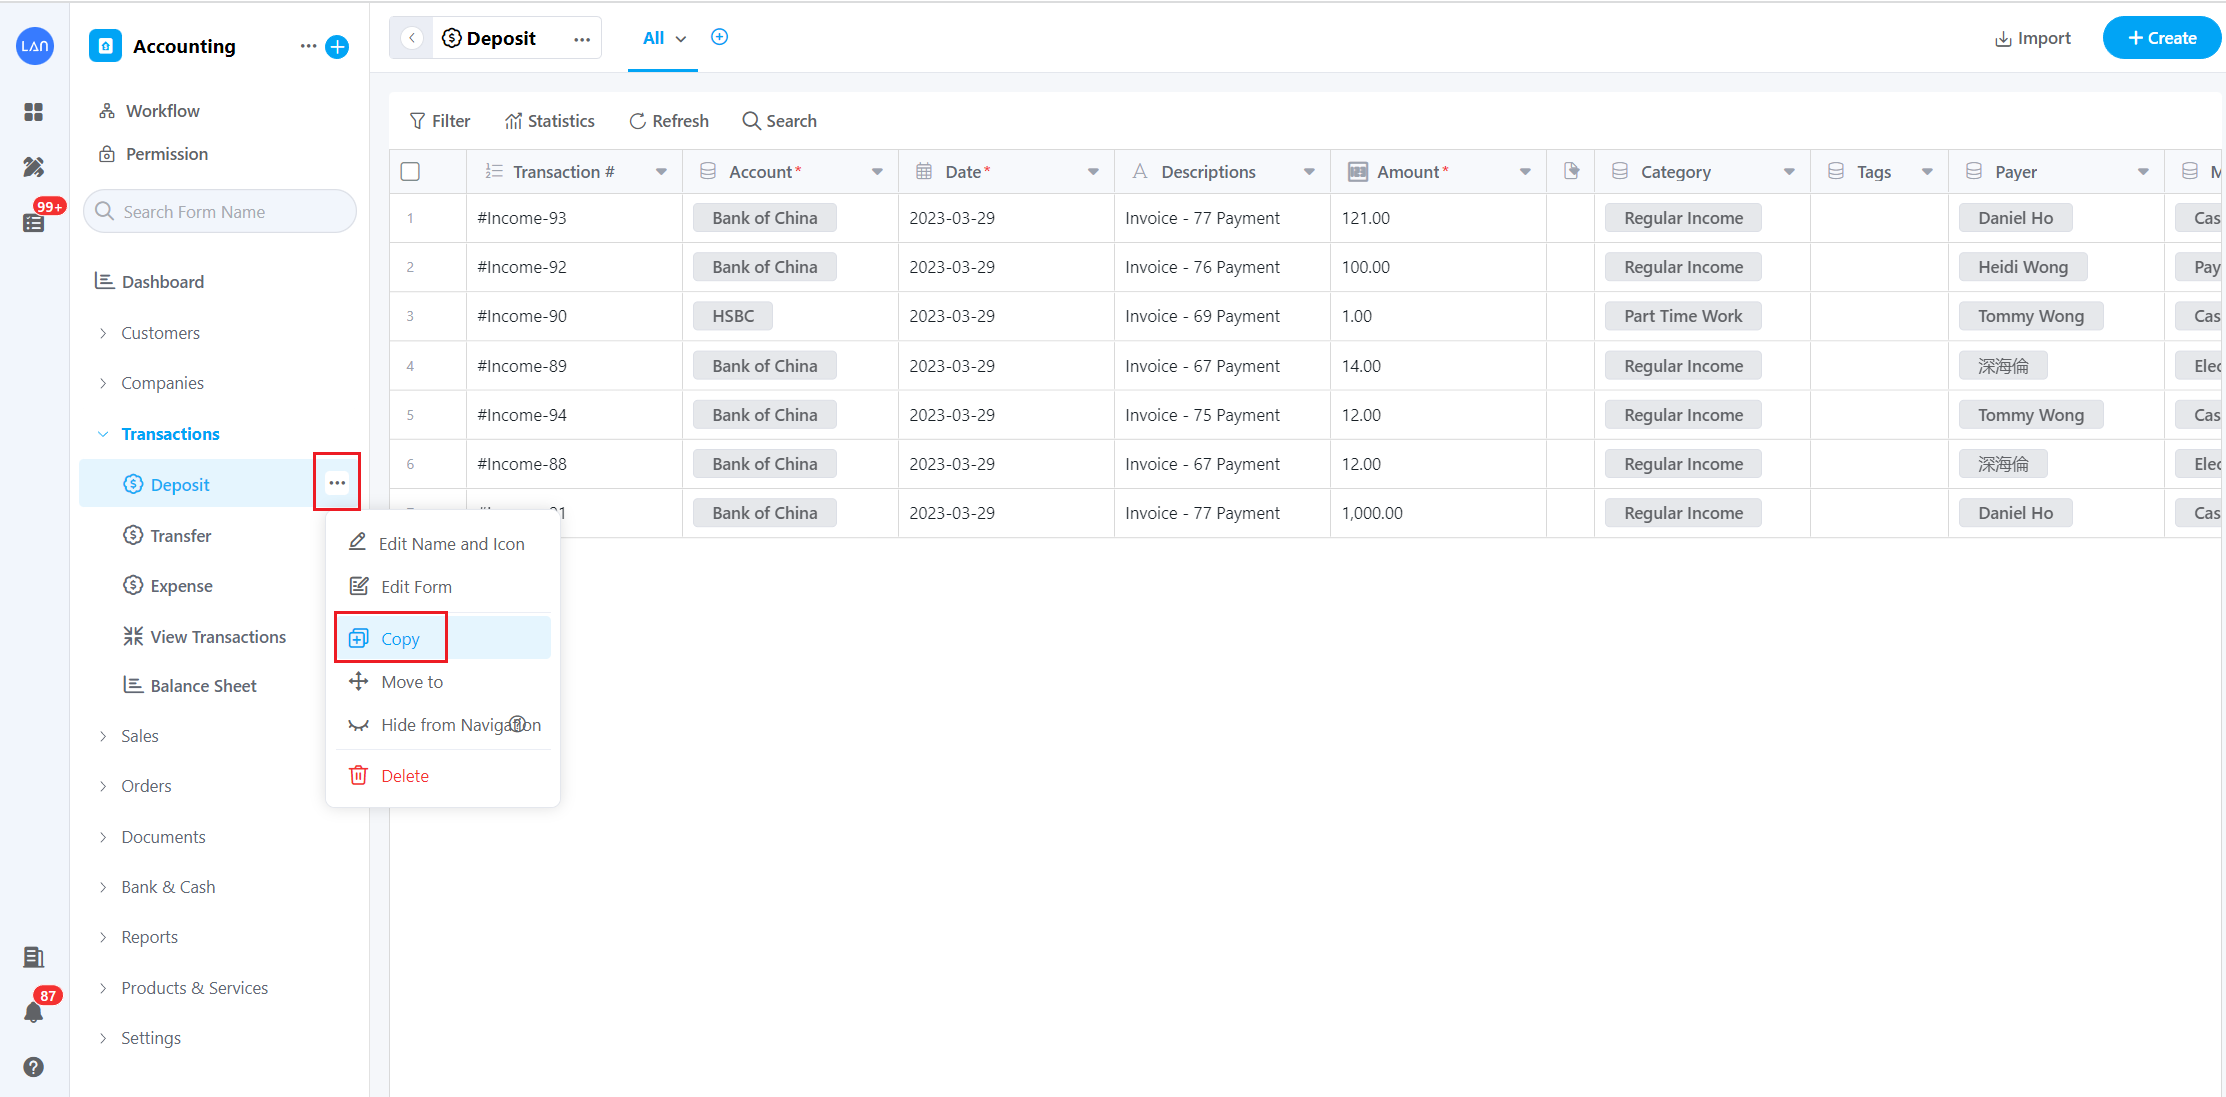
4. Copy the form
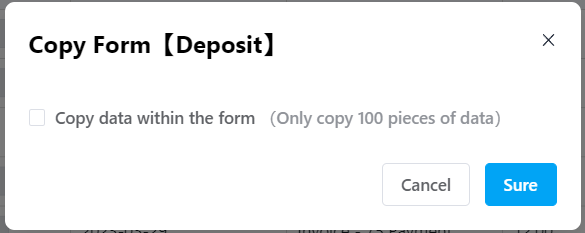
Click the […] icon, select the [Copy] button, and you can choose to copy the data in the form to a new form at the same time (only 100 records will be copied).
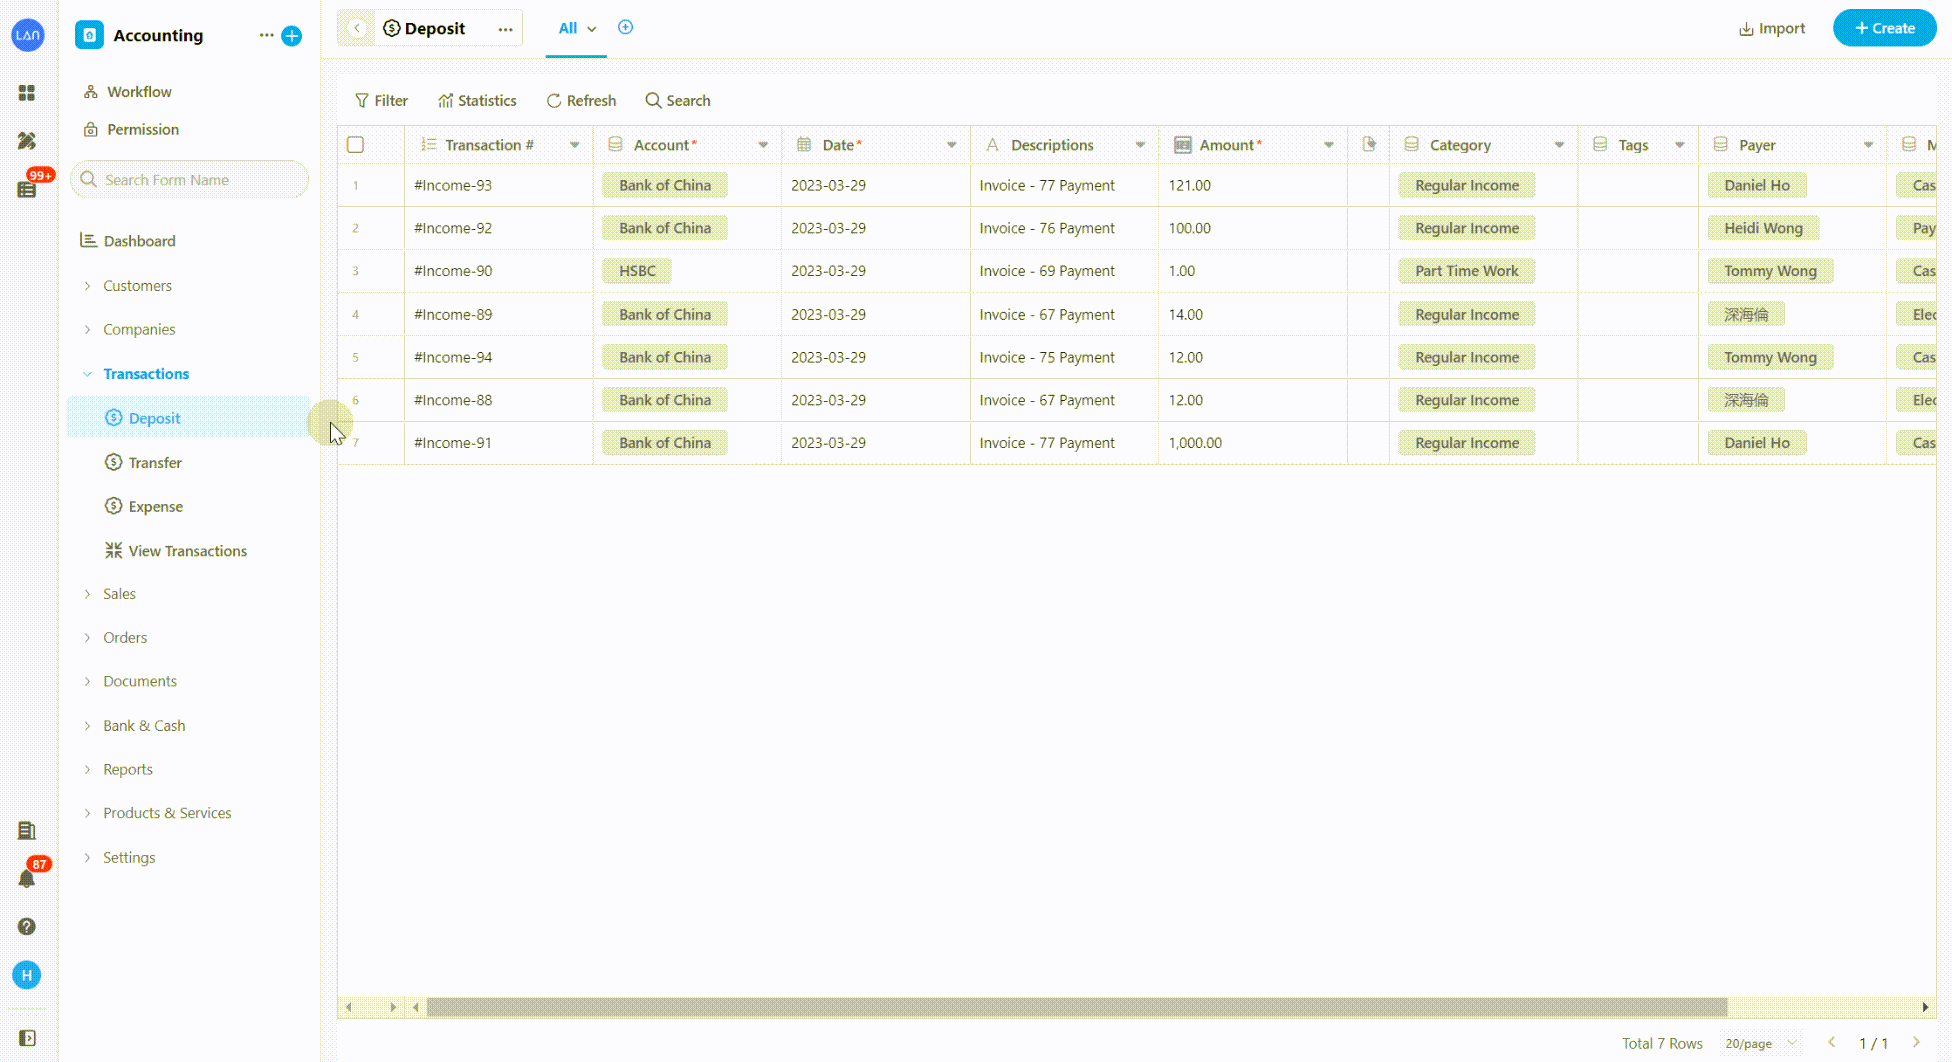
Copy the form, and the configuration of the related data will also be copied.
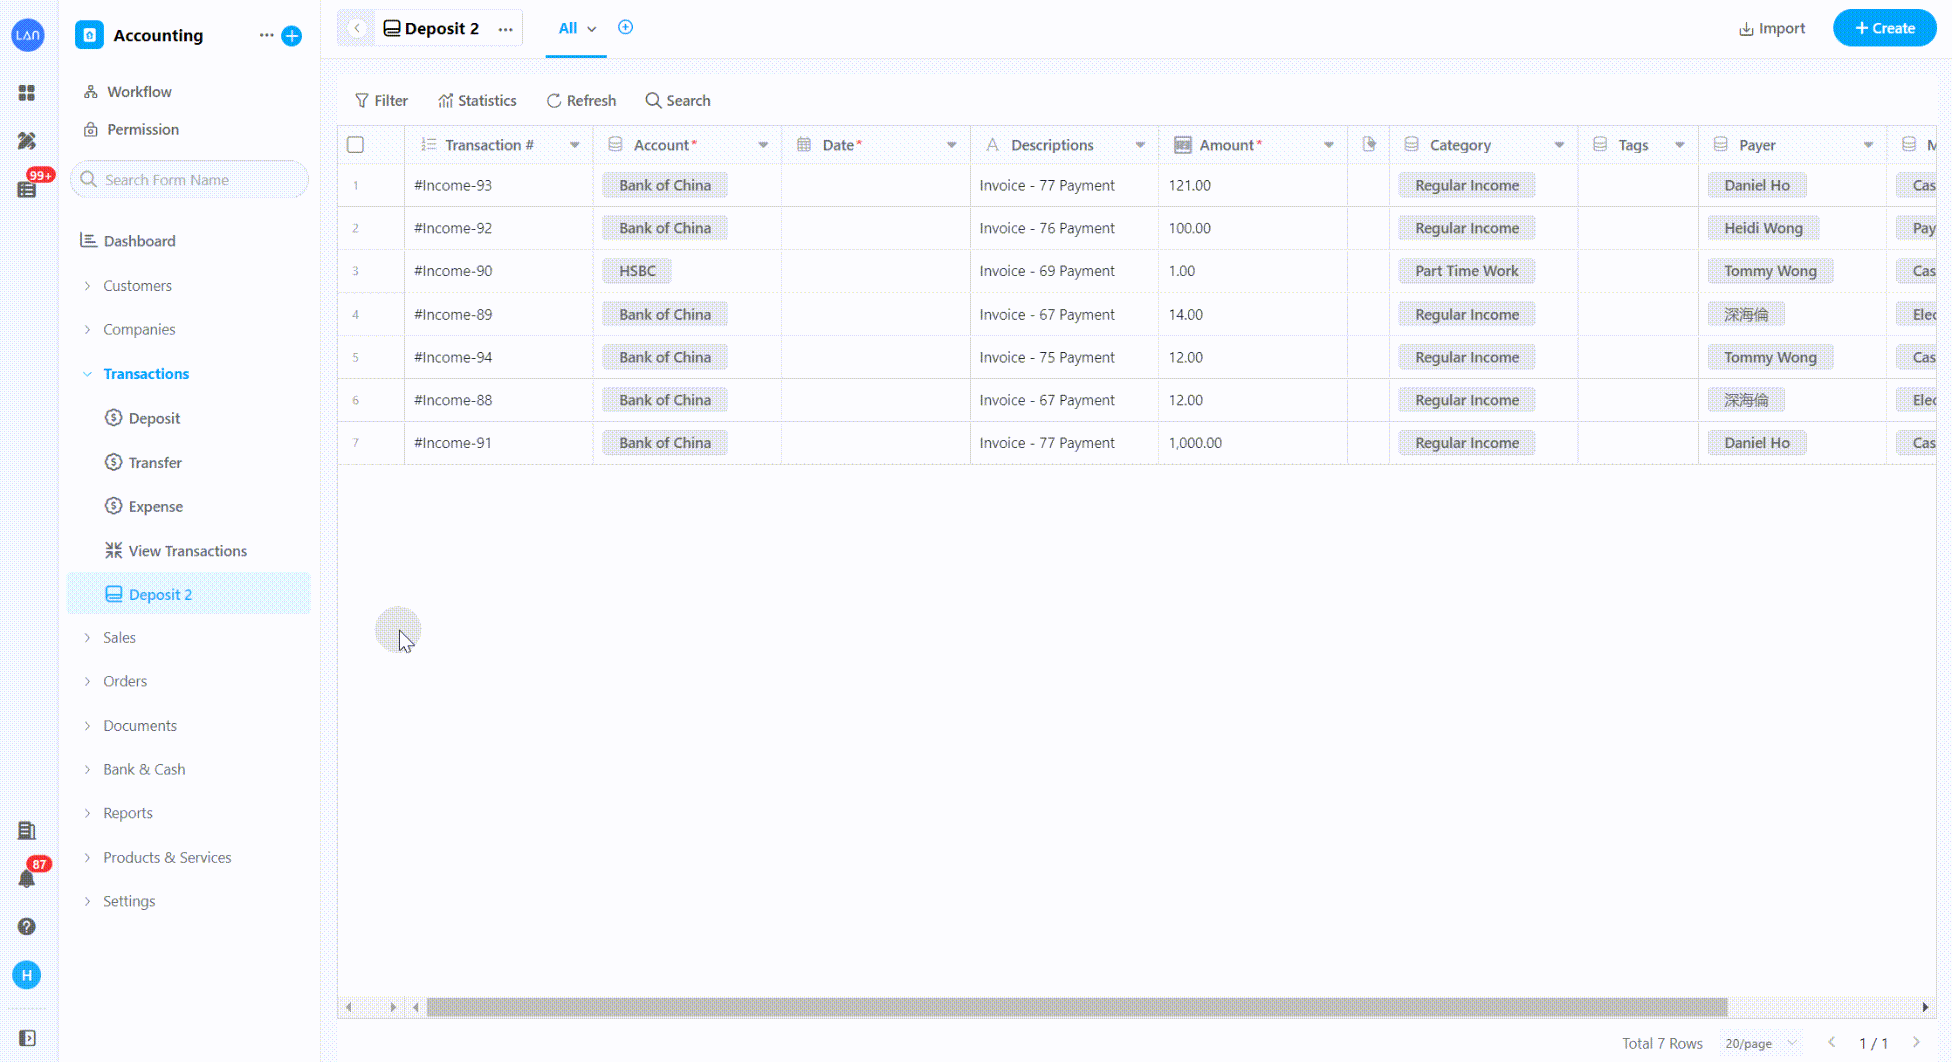
The successfully copied form will have the word "Copy" in its name to differentiate the original form (e.g. customer) from the copied form (e.g. customer copy). Users can modify the name and icon:
5. Move the form
Click the […] icon and the [Move to] button to move the form to another group.
6. Delete/restore the form
Only application administrators have the permission to delete forms.
Note: After confirming the deletion, all configurations and data under the form will not be restored.
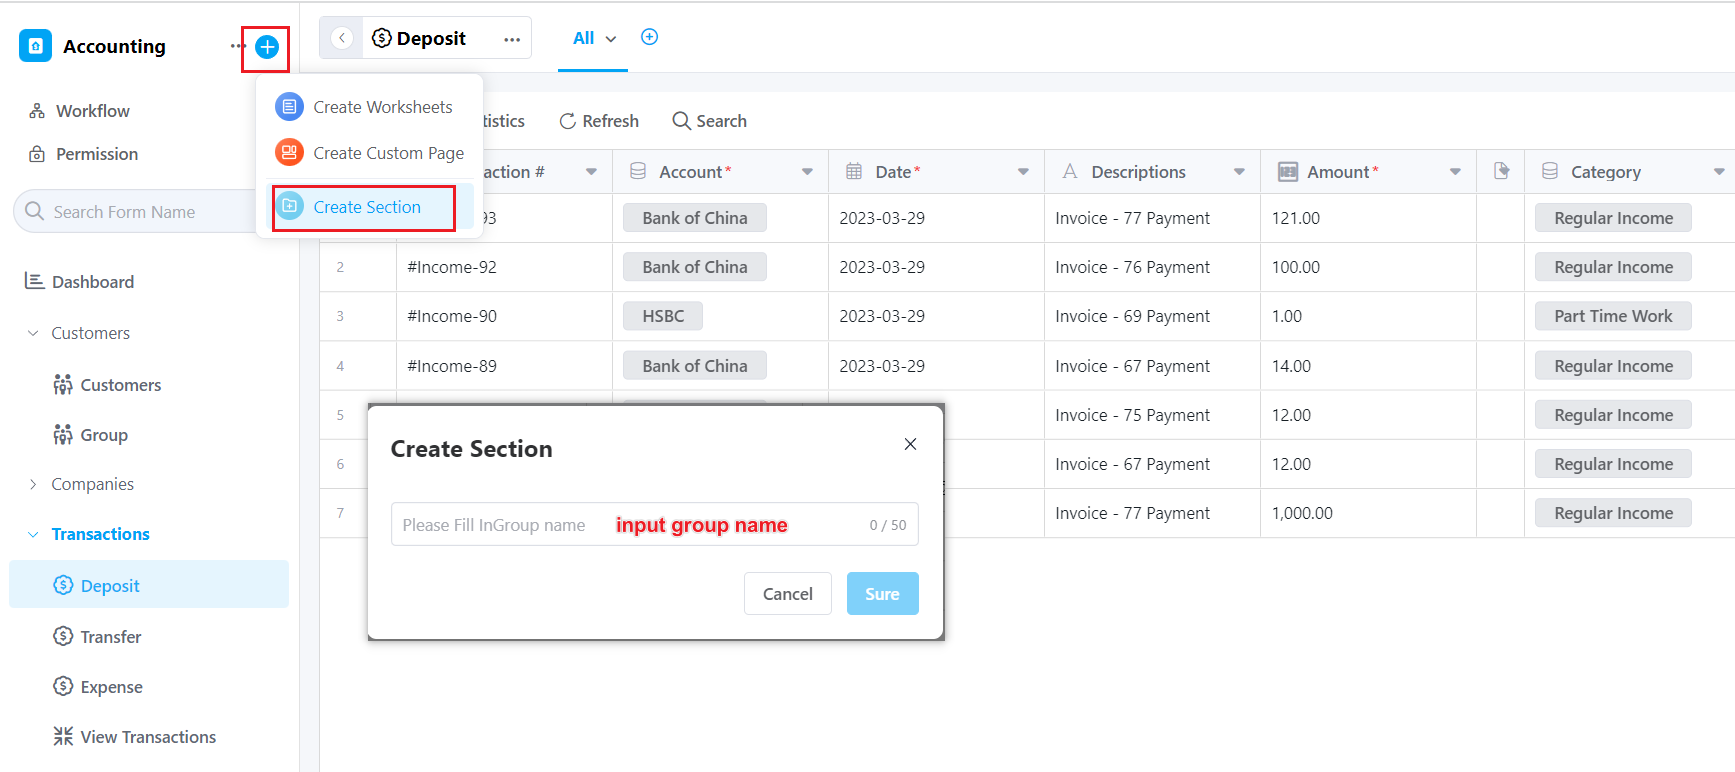
7. Manage the form by groups
When the number of forms increases, the administrator can create groups to manage the forms by sections. The groups will be displayed in the navigation bar on the left. Users can quickly switch between different types of forms to find the information they need.
7.1 Create groups
7.2 Move the form to the corresponding group
Click the form, select the […] icon, and select [Move to] to move the form to another group:
7.3 Group sorting
Click the group name, drag up and down to the desired position, and release the mouse.
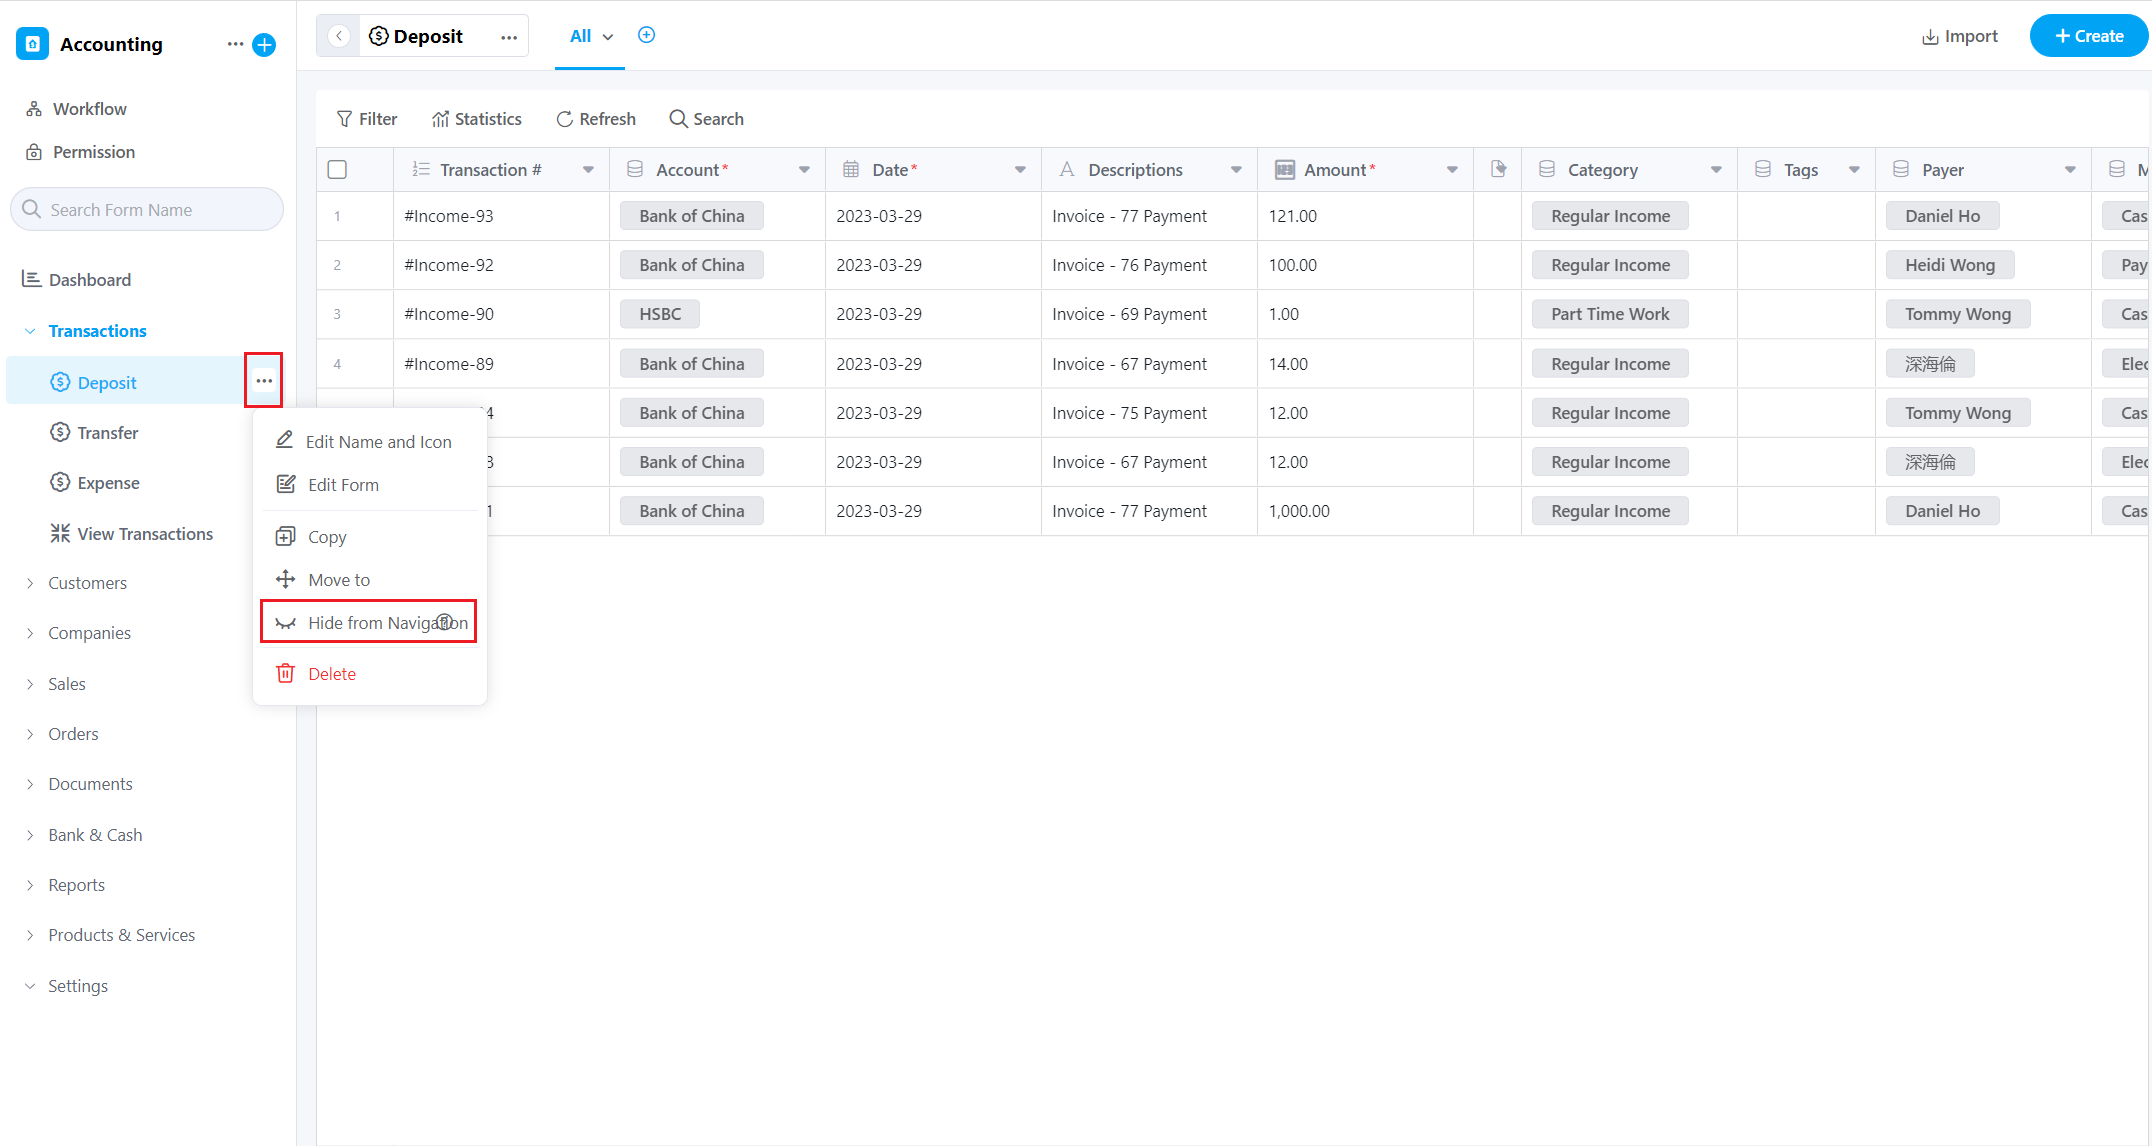
8. Hide the form (from the left navigation bar)
Some forms do not need to appear in the left navigation sidebar, but are only used when associating records. For example, when adding contacts to customer management, the contact form is generally not viewed by itself, but through customers, so it can be hidden from the navigation bar.
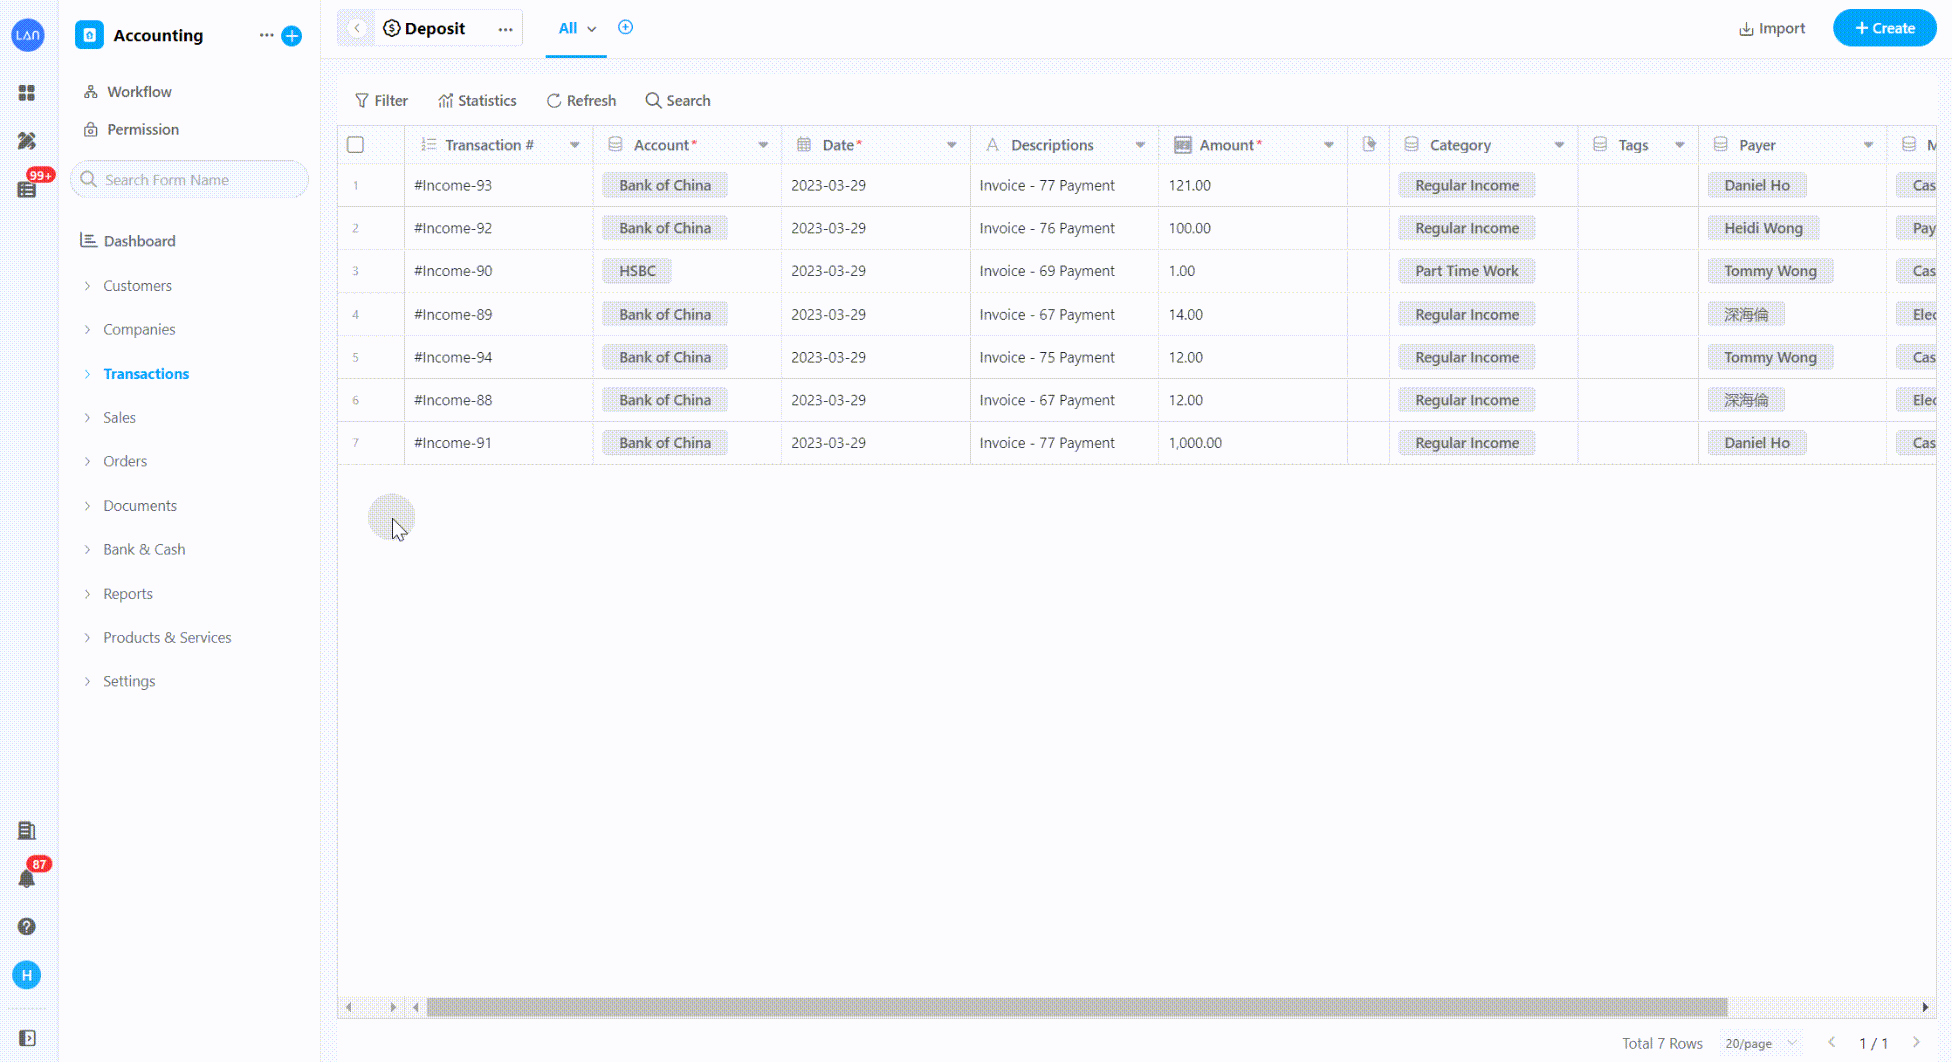
9. Hide and expand the left navigation bar of the form
To collapse the navigation sidebar of the form, add more space to display the data and display more columns.
Click the [⬅] button to hide it, and then click [➡] once to expand and restore: